Documentation > Assembly Instructions
|
Mouting Monoswitch Motor Brackets
This page shows how to mount a 4DBrix™ motor bracket onto a LEGO® monoswitch.
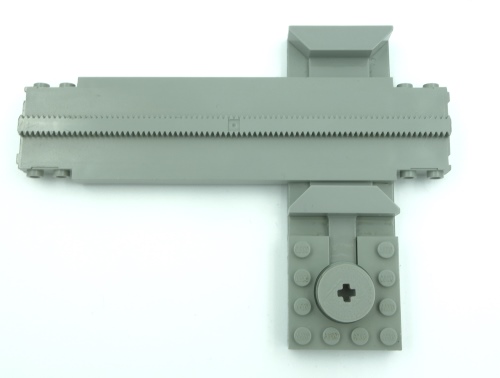
Step 1: Position your monoswitch
Put the connector tile with the technic axle on the monoswitch control and turn it until the monoswitch actuator flanges are in the upward position as shown below.
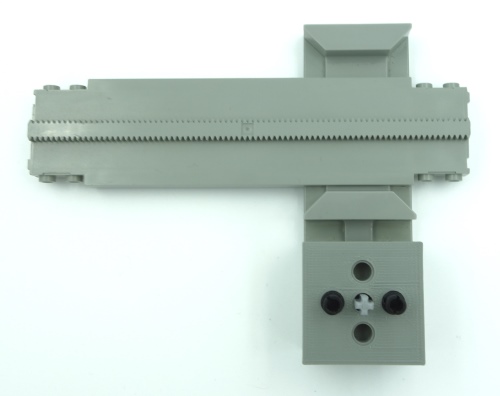
Step 2: Mount the bracket
Put the bracket onto the monoswitch and add the two black technic pegs and 3M axle.
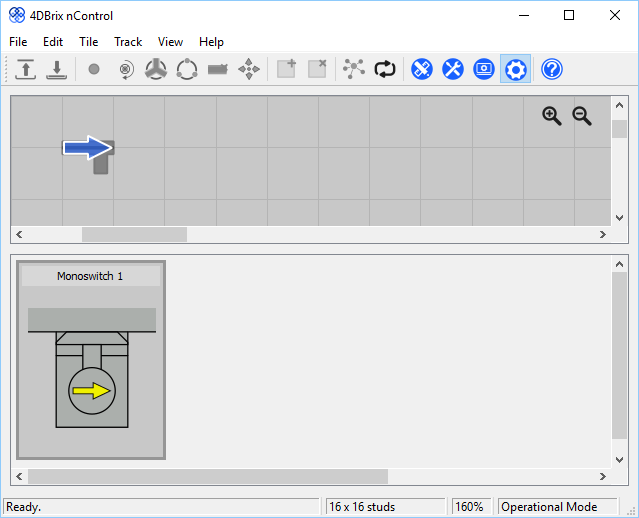
Step 3: Position the servo motor
Before you can mount the motor onto the bracket you have to position it correctly. Connect the motor to the controller and open or create an nControl project with a monoswitch tile.
Then put the motor tile into the position of your actual monoswitch, i.e. the actuator flanges have to be upwards.
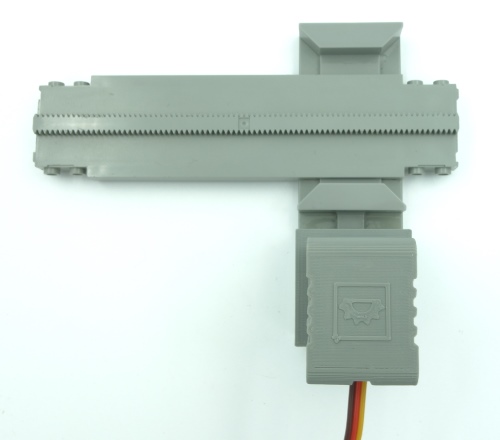
Step 4: Mount the motor
Now mount the motor on the bracket and you're ready do go! If you follow this procedure you can mount the motor in any position, it will always send the monorail train in the correct direction.
Troubleshooting
If the train is not going in the correct direction, make sure the tile in nControl is positioned in the extact same way as your actual monoswitch when you pre-position the motor in Step 3.
For example, in this tutorial the monoswich control is below the monoswitch track, so we had to rotate the tile 180 degrees to get it into the correct position.
|