The nControl™ installer for Windows normally
installs the driver for the 4DBrix™ controllers automatically.
However, depending on your local permission settings, the installer might
not be able to installer the driver and you have to install it manually.
Checking Whether the Driver is Installed
- Before you start, make sure your 4DBrix™ controller is connect to
your computer with the USB cable that came with the controller.
With the Windows Device Manager you can check whether the
driver for the 4DBrix™ controllers is installed or not.
You can open the Device Manager by pressing: Window Key + S.
This opens the search box.
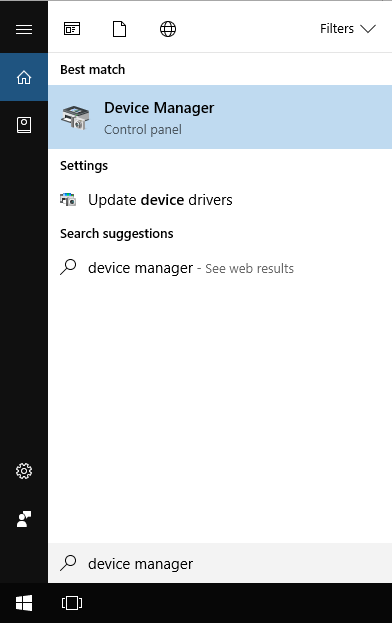
- Type the text 'device manager' and press the ENTER key;
this opens the Device Manager.
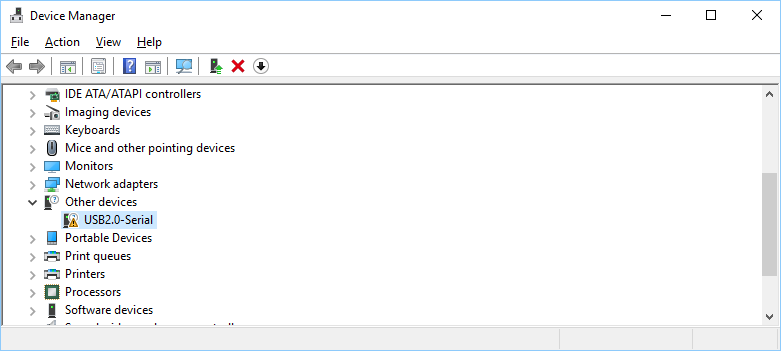
Scroll down the list, if you find a USB2.0-Serial entry under
the item Other devices then the driver is not working and has
to be (re)installed.
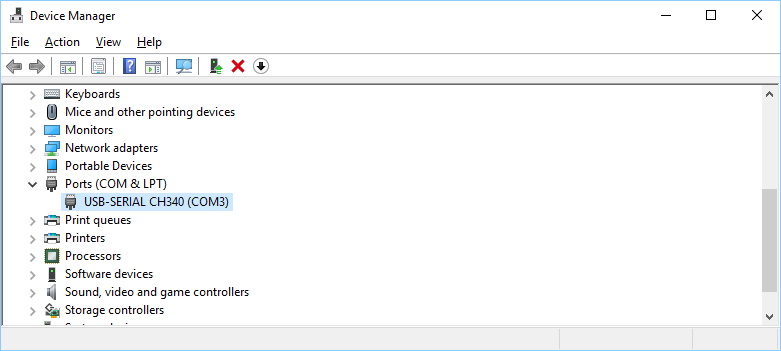
- If you see a USB-SERIAL CH340 entry under the item
Ports (COM & LPT) then the driver is working correctly.
Installing the Driver
- Start by downloading the driver from the 4DBrix™
download page.
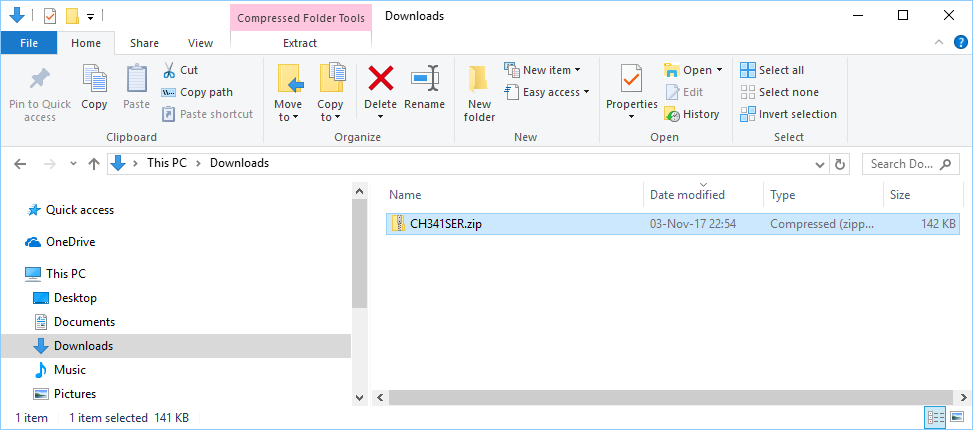
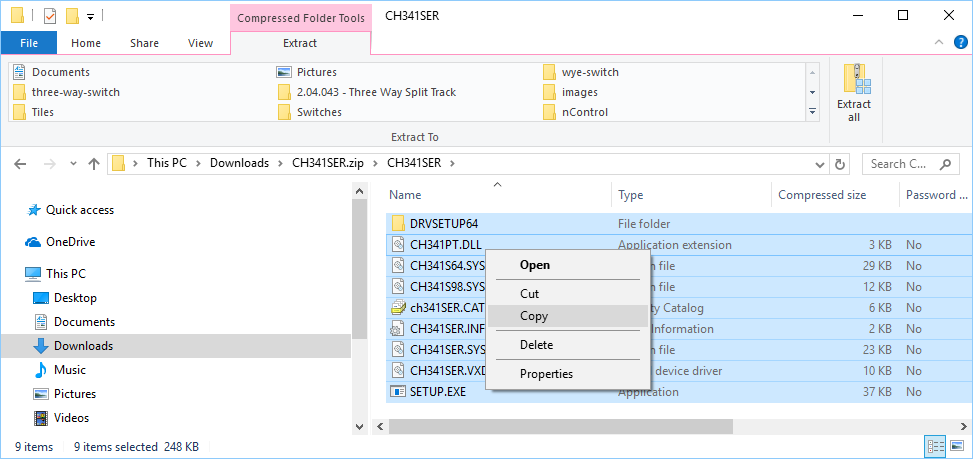
- The driver is stored in a .zip archive. Locate the CH341SER.zip archive
in your local Downloads folder
- Go into the .zip archive, select all the files and copy them.
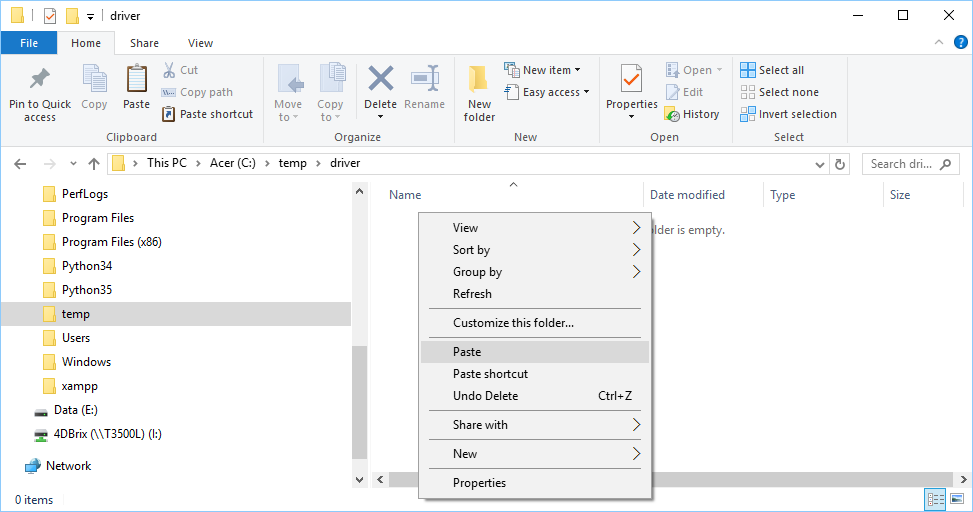
- Go to a temporary folder and paste the files.
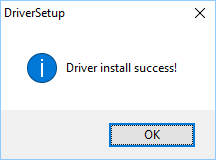
- Run the program SETUP.EXE and click on the install button.
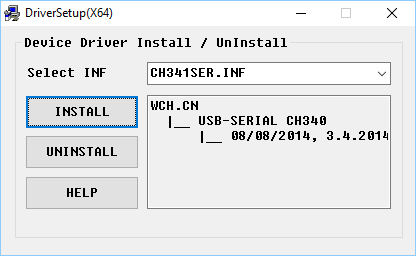
- This will install the driver for the 4DBrix™ controllers.
- If you go back to the Device Manager you should now see a
USB-SERIAL CH340 entry under the item Ports (COM & LPT).
|