|
Installation Instructions
|
||
|
Follow the procedures below to install nControl™ on your preferred
operation system: |
||
|
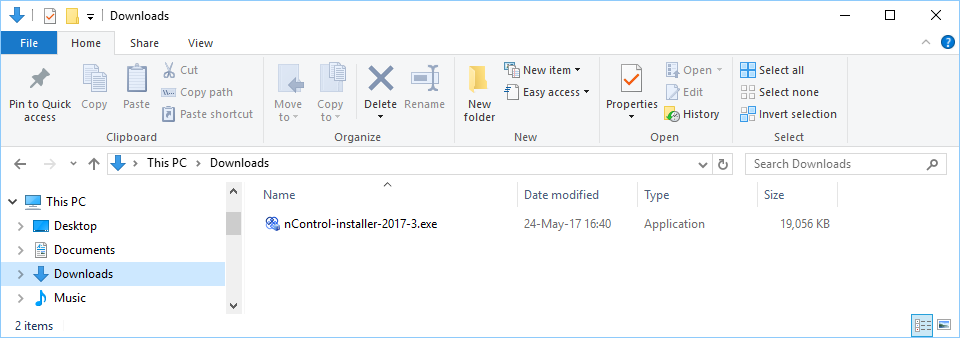
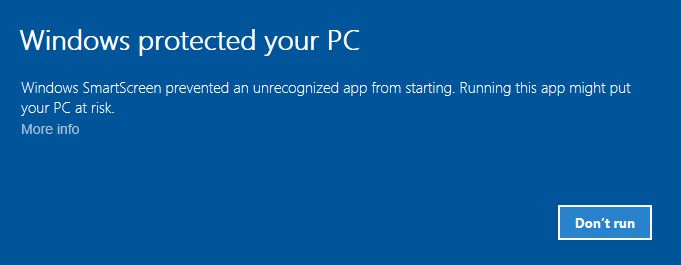
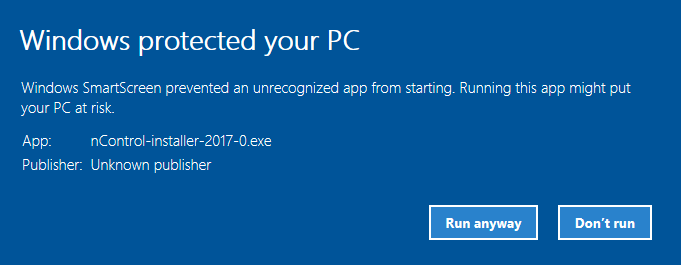
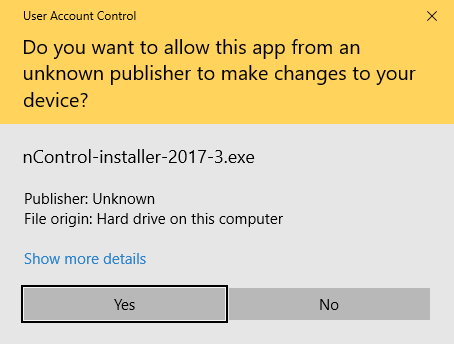
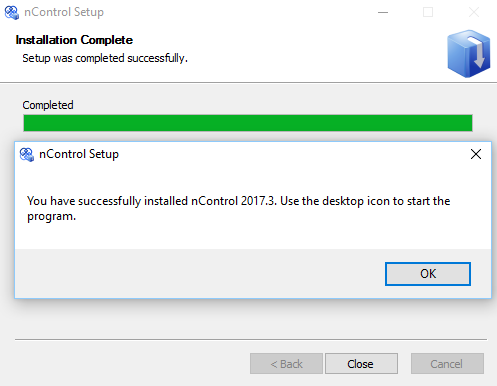
Windows
Use the following procedure to install nControl™ on a Windows computer:
|
||
|
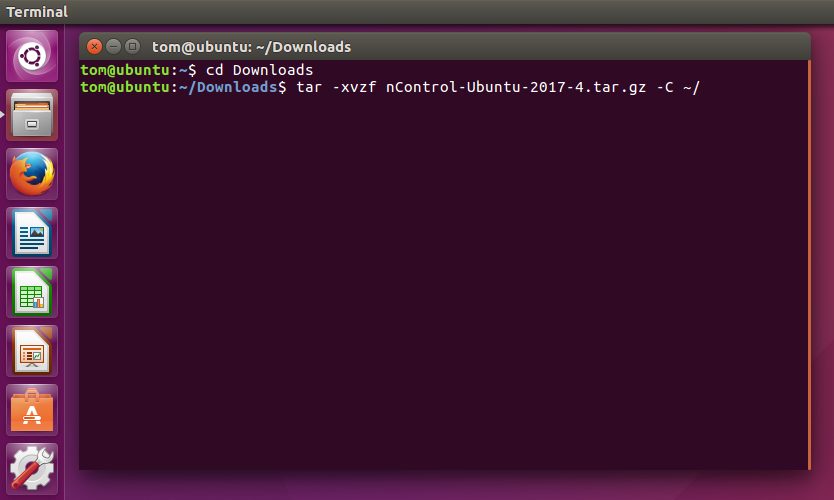
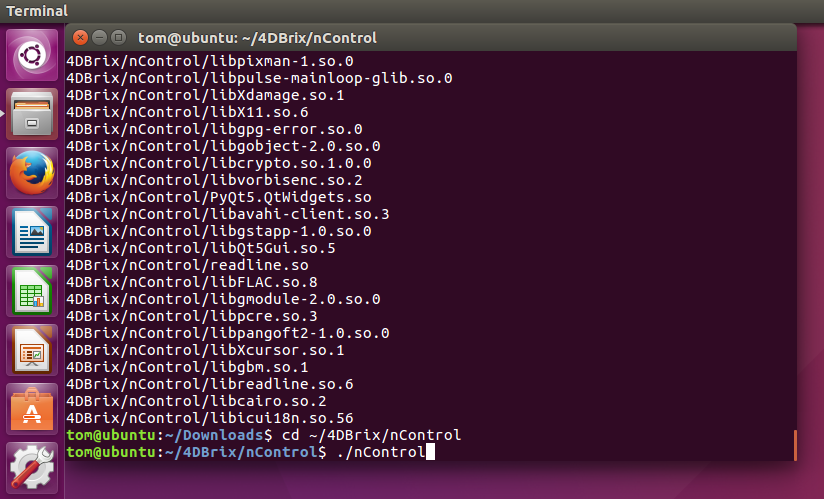
Ubuntu
Use the following procedure to install nControl™ on your Ubuntu system:
|
||
|
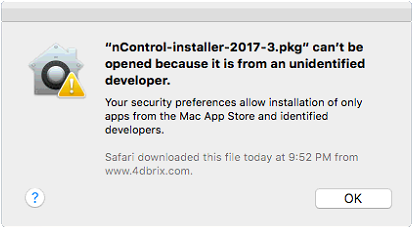
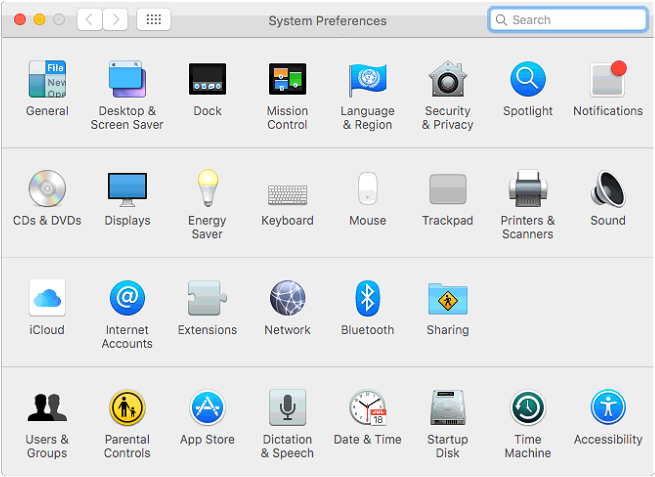
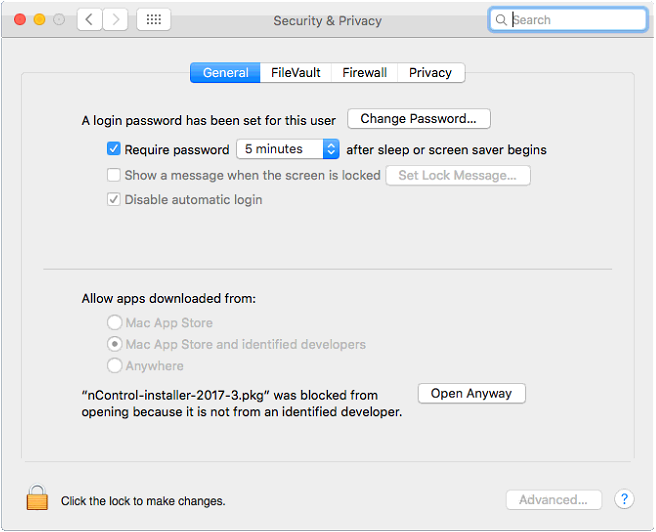
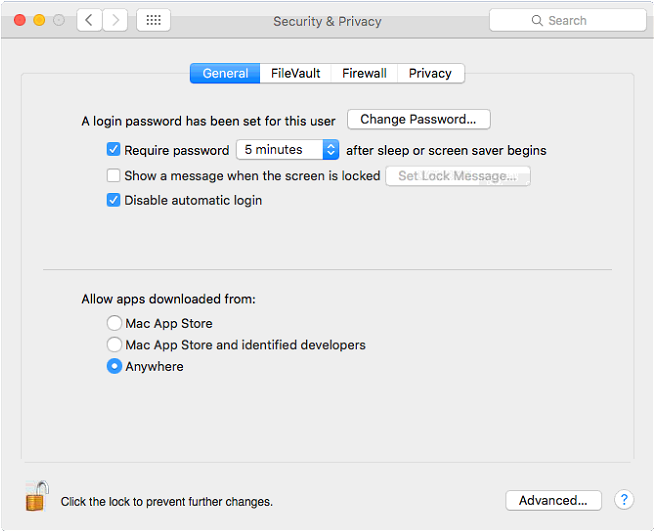
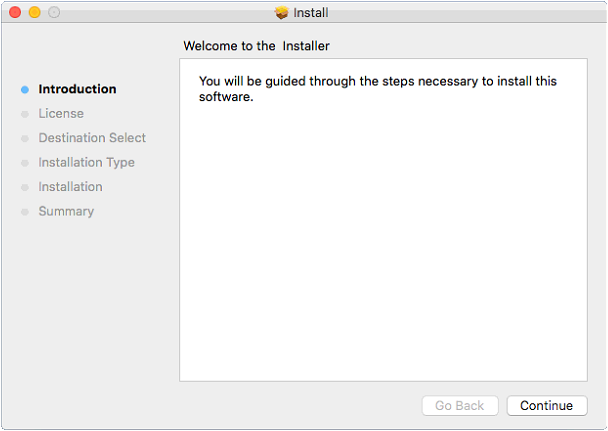
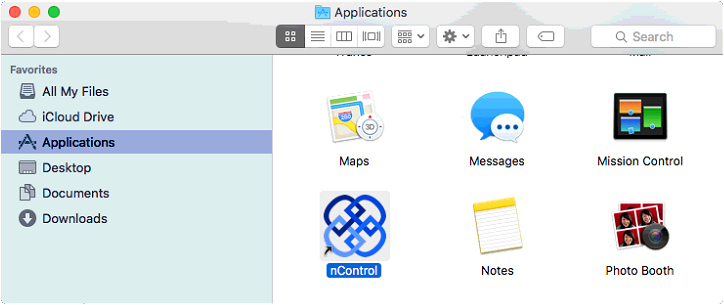
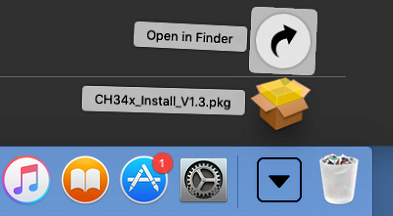
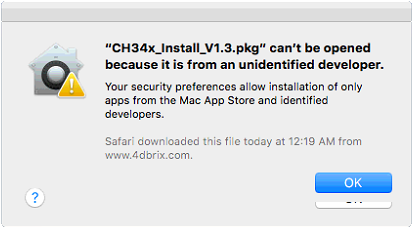
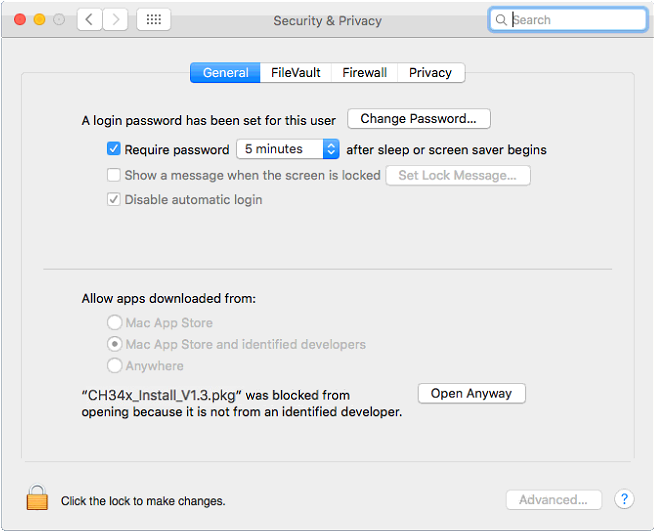
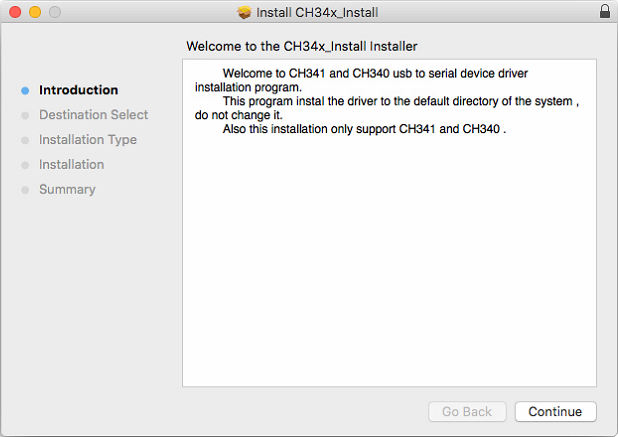
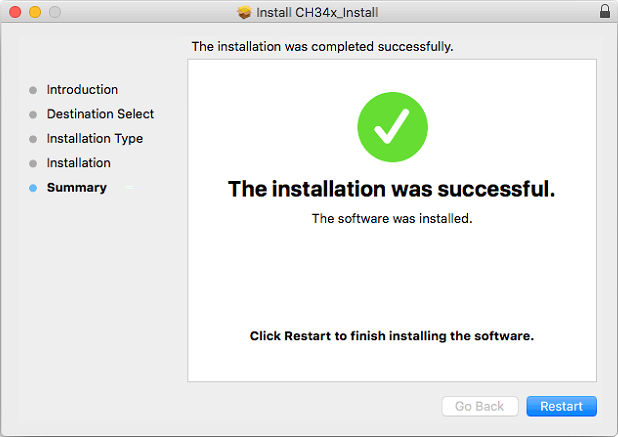
macOS
Use the following procedure to install nControl™ on your Mac:
|
||